Getting started
Five minutes to your first wiki page, and who does the ingesting
WikiBrain is a personal knowledge base in the cloud: you drop in articles, papers and PDFs, and an AI reads them, writes interlinked wiki pages, and keeps the index and the log up to date. You find sources, ask questions and judge; the bookkeeping is the AI's job. The approach comes from Andrej Karpathy's "LLM Wiki" (original), condensed on the LLM Wiki pattern page.
Five-minute start
- After signing up, pick a template (choose General if unsure). It creates the schema/ rules, wiki/index.md and wiki/log.md.
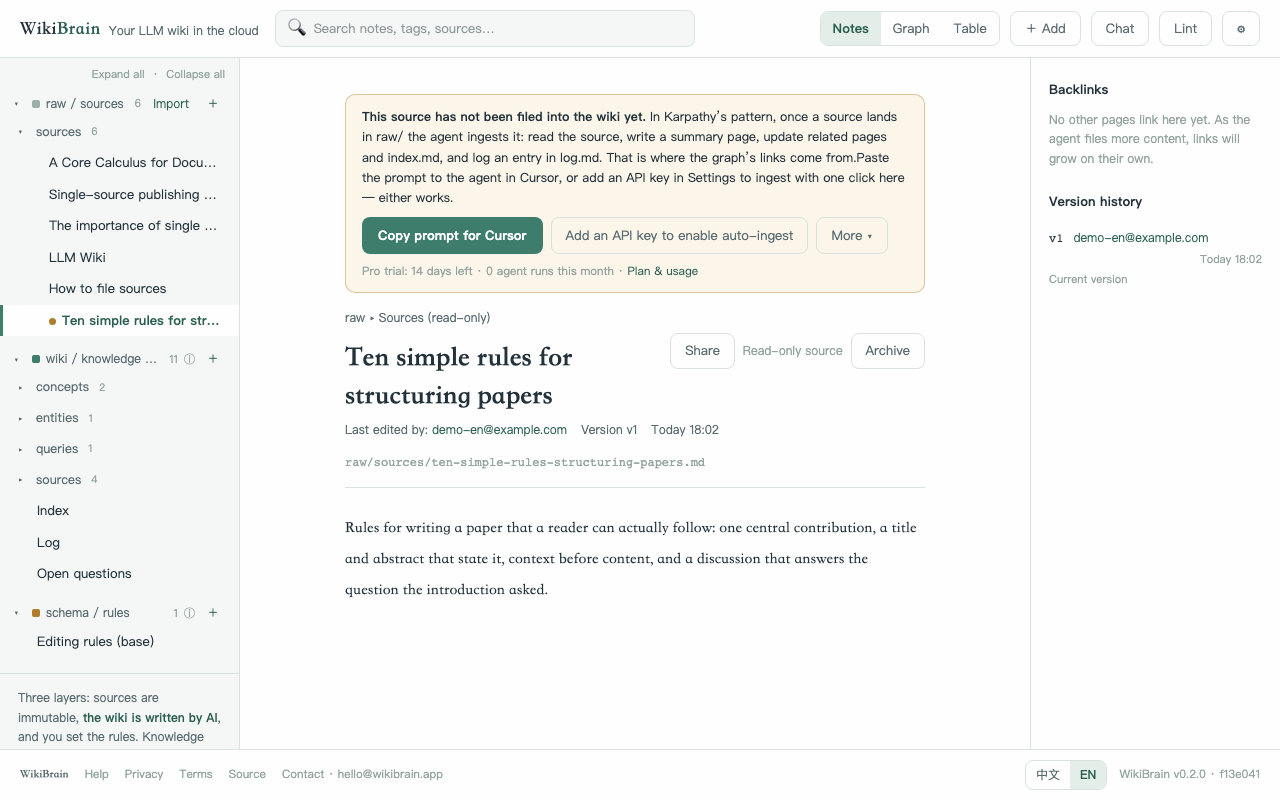
- Press + Add in the top bar → Paste URL and paste a link, or Upload file and drop a PDF. It lands in raw/ and the page shows the banner "This source has not been filed into the wiki yet (pending Ingest)".
- Press Auto-ingest this source in the banner. The first 50 runs of the trial need no key at all.
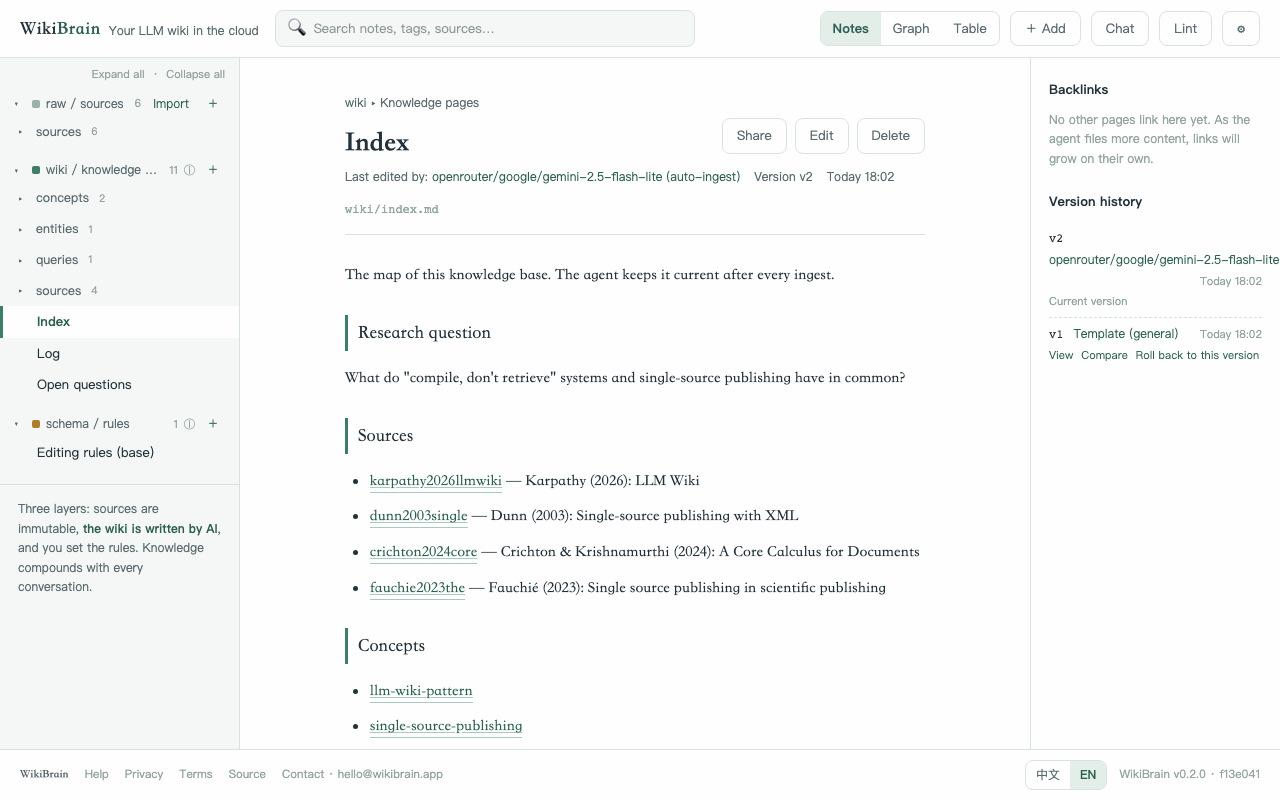
- Wait for the progress panel (usually 30 to 90 seconds). The left pane gains a summary page under wiki/, and index.md and log.md are updated. Read it and check the key points.
- Press Chat in the top bar and ask something, e.g. "what is the main argument of this paper?". The answer cites page paths.
- After the tenth run, decide who ingests: see "Who ingests" below.
Who ingests: three ways, pick one or combine
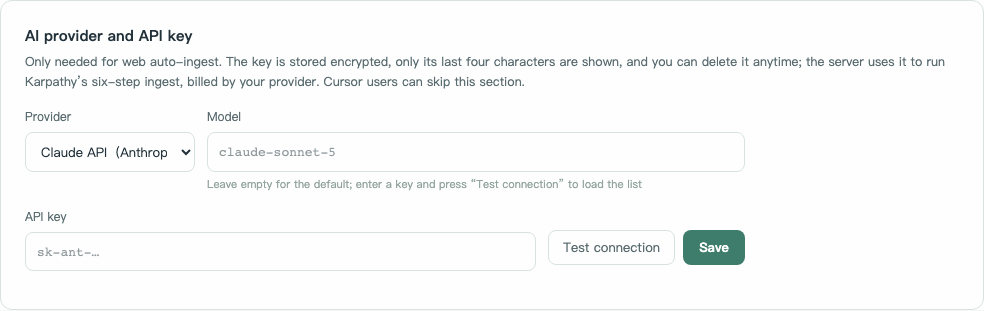
The agent needs a model to run on. All three ways produce identical pages; the Settings section "Connect an agent" is about exactly this. Neither yet? The first 50 trial runs are on us; decide afterwards.
https://wikibrain.app/mcp into its connector settings, sign in and press Allow. Steps below.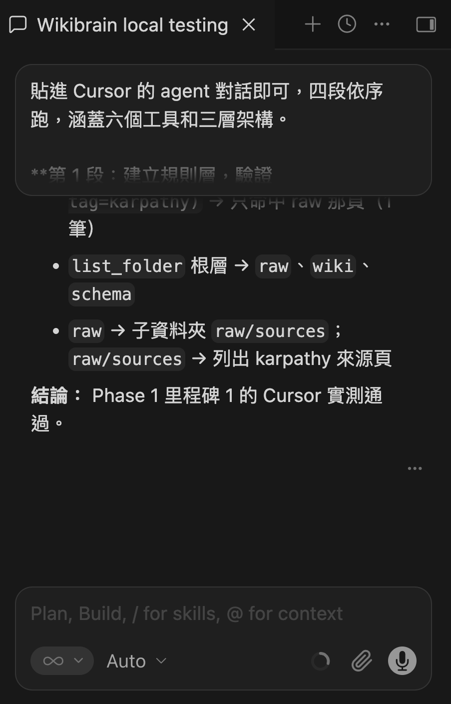
Connect from Claude.ai or ChatGPT (connectors)
- Claude.ai: sidebar Customize → Connectors → Add (top right) → Custom connector → name it WikiBrain, paste
https://wikibrain.app/mcp→ Add. The first time you are sent to WikiBrain’s sign-in and consent page; press Allow. The connector settings then list the six tools (get_instructions, search_notes, read_note, create_note, update_note, list_folder); just ask in plain language in a chat. - ChatGPT: Settings → Connectors → Advanced / Developer mode → Create → paste the same URL as the server URL, choose OAuth → Create. Custom MCP is available on some plans only.
- Once connected: “read get_instructions, then ingest raw/sources/xxx.md into the wiki” or “search the wiki for X and write it up as one page”.

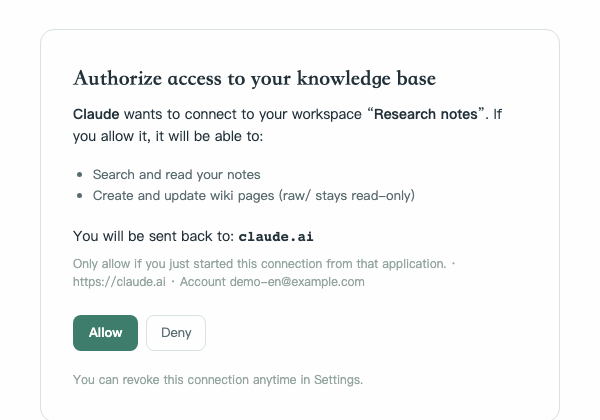


Authorised connections appear in the Settings → Connect an agent table (marked OAuth) and can be revoked at any time; access tokens expire after 24 hours and clients renew for 90 days. The same MCP token also works as an API key for the REST API, see the guide.
Phone: add to home screen
WikiBrain is an installable web app (PWA); there is nothing to download from a store. iPhone: open wikibrain.app in Safari → Share → Add to Home Screen. Android: Chrome menu → Install app or Add to Home screen. It then opens full-screen with its own icon. When the connection drops you get an offline page; reading the whole knowledge base offline and offline quick notes belong to the next milestone (device copy).